
Christmas Hexie Stocking Sew Along: Week 3
Welcome to week 3 of the Hexie Stocking Sew Along! How are your columns looking? Did you try the EPP chain stitching trick?
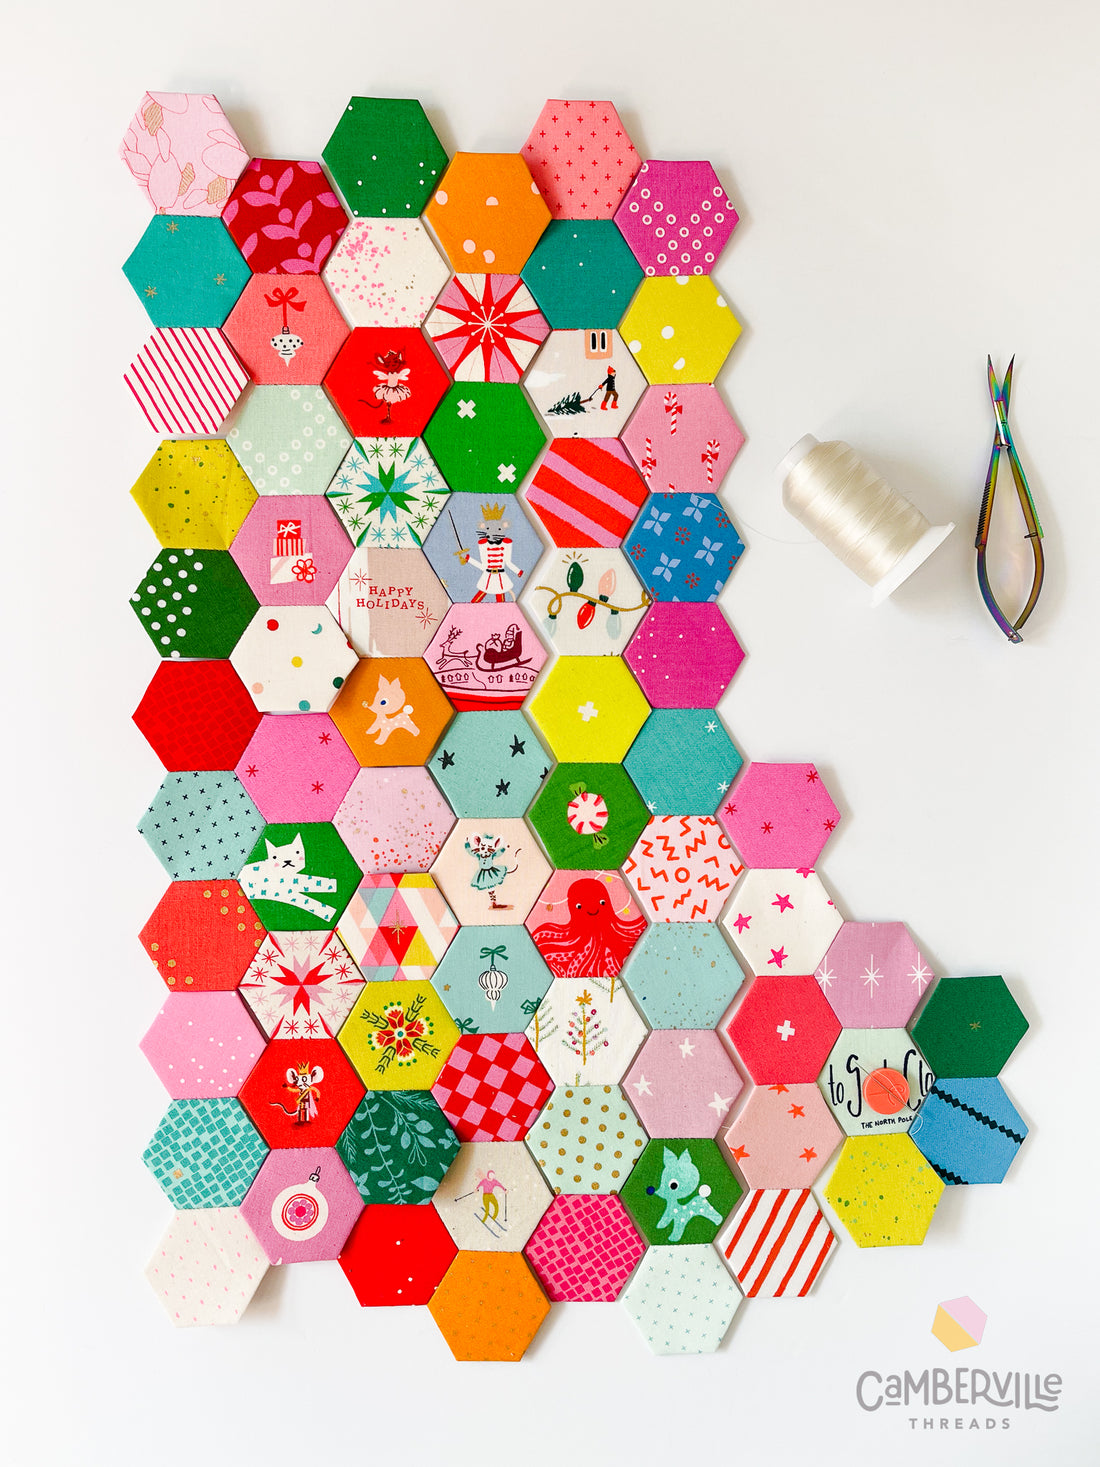
A note about my pieces - before I wrote the pattern, I was happily scrappy sewing hexagons together so I have a mix of hexagon block units and columns to piece together for my panel. But that’s ok, one wonderful thing about English Paper Piecing is that Y seams are not scary. At all! Simply fold the papers as needed to align your sides and stitch away. ALSO follow the pattern diagram for layout not the photo because I didn't follow my own pattern the first time and had to add an extra piece later ;)

For the purposes of this tutorial, I will assume you followed my directions and have 6 long columns and 3 short ones ready to go. We’ll be sewing the columns to one another with a whip stitch, just like you’ve been stitching your hexagons together so far. Go ahead and read through the whole tutorial before you start because there is a note about removing papers at the end.
Layout your columns according to the diagram as you want them to look in the final stocking panel. See Week 2 for the layout if you need to stitch your hexie columns for the stocking.

Starting from the left, take the first two columns and set them next to each other and note the first seam you’ll need to sew.

Keeping these two edges aligned, flip column B over column A so that your first two hexagons are right sides together (RST). It should look like the 6 and 8 hands on a clock.


Stitch your first edge from the top corner to corner, making sure to secure your stitches like normal but don’t cut your thread. Be sure to watch your stitching direction, you may have to turn over the work in your hands. You want to be sewing towards the next seam so you can keep stitching without having to start/stop until you need to rethread.
Be sure you are stitching *right* to the very corner, or your panel will have little holes in the corners between stitching lines.
We will be stitching a long row and if something unwelcome happens - like a knot you can’t unpick or your thread snaps, you’ll go back to your last corner and you’ll only be out an inch of stitching at most.
Unfold and ensure the correct seam has been sewn.

Note the next seam will require you to cross B over A in the opposite direction. To align the next edge you will fold the previous hexagon in half- paper and all.

This is why Y seams with EPP are not scary - your seam allowance is already secured to the back of your paper, so you just keep folding the papers to get your next edge to line up easily.

Sew your next seam and open up your work - you’ve completed the first Y seam!

Keep stitching and folding your edges to align the next seam working down the column until they are sewn together.

Repeat with each column until the 6 long columns are sewn together. You may prefer to sew two columns together at a time and then join these units together. Experiment and see which method works best for you.
Sewtites or clips are really helpful here because your work will start to get heavy with all the paper - so be kind to your hands!
The shorter toe section is sewn together the same way, but I like to join the 3 small columns into a bigger block unit and then add that onto the larger panel in one go.
Yay! You did it! Now that you can sew hexagons together in all directions, you’ll be ready to tackle any EPP pattern you like!
Removing the Papers from English Paper Piecing
This is a smaller project and you could leave the papers in until the whole panel is sewn. But, if it’s more comfortable to hold, after a hexagon is sewn together on all 6 sides it is safe to remove the paper.

Before removing the papers use your iron to give a press from the front and back side to help set the seams.
If you’ve chain stitched and traveled with your thread, make sure you clip your connecting threads so you can access the papers more easily.
From the back of your panel, carefully peel up the edges of the fabric from each hexagon and gently pull the paper out. These papers can be reused for another project as long as the corners are intact.

Once the panel is complete you will remove the paper from all hexagons, even the outer edge pieces.

Once all the paper is removed press all the inner seam allowances back into place from the backside. On the outer edges, press the seam allowance open flat (yes this will be a raw edge that will be finished off once we assemble our stocking).
EPP Troubleshooting
Sometimes things don’t go as planned. Keep calm and stitch on with these tips.
My Thread is Knotted.
Knots are evil. Head off the potential for knots by making sure your thread isn’t twisting while you are working. If you notice it starting to twist, take a moment to untwist before continuing.
I have found since switching to decobob thread I run into way less knots than working with cotton. And thread snapping is extremely rare! Usually I can tease a knot out and keep on going, but if you must, cut your thread and start again from your last corner.
Thread gloss can help keep snarls at bay, if you are working with cotton thread I’ve found it essential!
My Needle Keeps Coming Unthreaded.
If you are frustrated by your needle coming unthreaded, try securing your thread to your needle with a slip knot. Use the clover desk needle threader to help with this! It forms a small loop- pass your needle through the loop and pull- now your thread is secured to your needle.
If you are using a fine thread you could also just tie your needle on with a single knot.
Help! My EPP Papers are Stuck!
This could be for two reasons- you either used too much glue when basting or you sewed through the paper.
- I find the heat of the iron helps loosen the glue a bit from the paper, so do be sure to give a press. If the paper is truly glued in, a little spray of water will help loosen things up. Next time, go easy on the glue 🙂
- If you have accidentally sewn through your paper for a stitch or two, don’t worry, just give a gentle tug and the thread should rip through the paper edge and release.
Part of my Stitching is Coming Undone!
That’s ok - it should be limited to a small area if you have been securing your stitches on each corner - just fold your work to align the edges that need to be restitched and go for it.

That’s it! You’re officially more than halfway done with your stocking. If you are ready to move onto quilting, especially if you are hand quilting, feel free to get a head start! Otherwise, head back here next Wednesday for some ideas on how to quilt your stocking front.