
Christmas Hexie Stocking Sew Along Week 5
It's the final week of the Hexie Stocking Sew Along! Last week you quilted your front panel, and optionally quilted a back panel. Today we are going to finish up your stocking by assembling the pieces.
Quick Note.
RST = Right Sides Together (aka pretty pattern sides together)
WST = Wrong Sides Together
Cutting the Stocking Front Panel
We will need to start by trimming your quilted front panel to size. Lay the paper template on top of your quilted hexagon panel. The panel is bigger than the template so you have a little wiggle room to decide which way you’d like to trim.

I find the easiest way to cut this out (without worrying about making a mistake) is tracing the template onto the front of your panel with an air or water erasable pen. I used whatever was handy as pattern weights so my template wouldn’t shift (hello pin cushion and hand weight). Double check your whole stocking fits and you won’t be cutting off anything important.

Cut along the marked line. Looks like a stocking already!

Back of Stocking Exterior
Take your backing fabric panel, that you may have chosen to quilt. I used fusible fleece for my backing instead of quilting, but you could also just layer your backing fabric on top of your back batting and proceed.
Lay your quilted back panel right side up (or lay your quilt batting down and backing fabric right side up on your table. Lay your cut out stocking front right side down on the backing. You could cut your backing out with the template and then layer but I suggest a generous rough cutting of the backing, sewing your stocking front right sides down, and then trimming it up after - don’t have to worry about shifting that way!

Starting from one side sew around the stocking with a 1/4 “ seam allowance EXCEPT the top, keep that open. Be sure to backstitch at beginning and end. Use a walking foot if you have one available.

Trim back to match front panel. Optional: Clip a few slits into the seam allowance at the curves taking care not to cut into the stitch line, to minimize bulk and allow for a smoother curve.

Turn the stocking exterior right sides out. Be sure to use your fingers or a pressing tool to push the edges out taking care at the curves. Give your stocking a quick press- we are halfway there and looking awesome already!

Sewing the Stocking Lining
You’ll need a front and back lining piece which are mirror images of each other. With your 1/2yd of lining fabric folded RST (opposite as it comes off the bolt), trace the template onto the lining and cut out.
Pin around the edges and sew around the lining with ¼” seam allowance leaving the top edge as well as 5” along one side of the lining unsewn. This step is very important as you’ll need this opening in the lining for turning your stocking later!

Keep the lining right sides together. Find the unsewn area and press back the seam allowance ¼” to make closing this later very easy.
Hanging Loop
If you are using twill tape or ribbon for your loop, skip to the basting step.
Make a hanging loop from a 4x2 piece of fabric scrap. Press your fabric in half lengthwise WST and unfold. Fold each long edge towards the crease at center and press. Fold in half again and press. Top stitch along the edges.

Fold the piece in half end to end forming a loop and place at the left side seam of the stocking exterior aligning the raw edges along the top. Baste in place with ⅛ seam allowance.


Assembling your EPP Stocking
Place the quilted stocking exterior inside the lining (which should still be inside out), RST.


Using clips or pins align the side seams and secure top edges together.


Pulling the lining all the way out, find the hole in the lining you used for turning and stitch it closed either by hand or machine.

Push the lining into the stocking exterior, using your hand to smooth the lining down into the stocking toe. Give it a good press.
Top stitch around the top of the stocking using a ⅛ seam to finish the top edge and keep your lining in place.

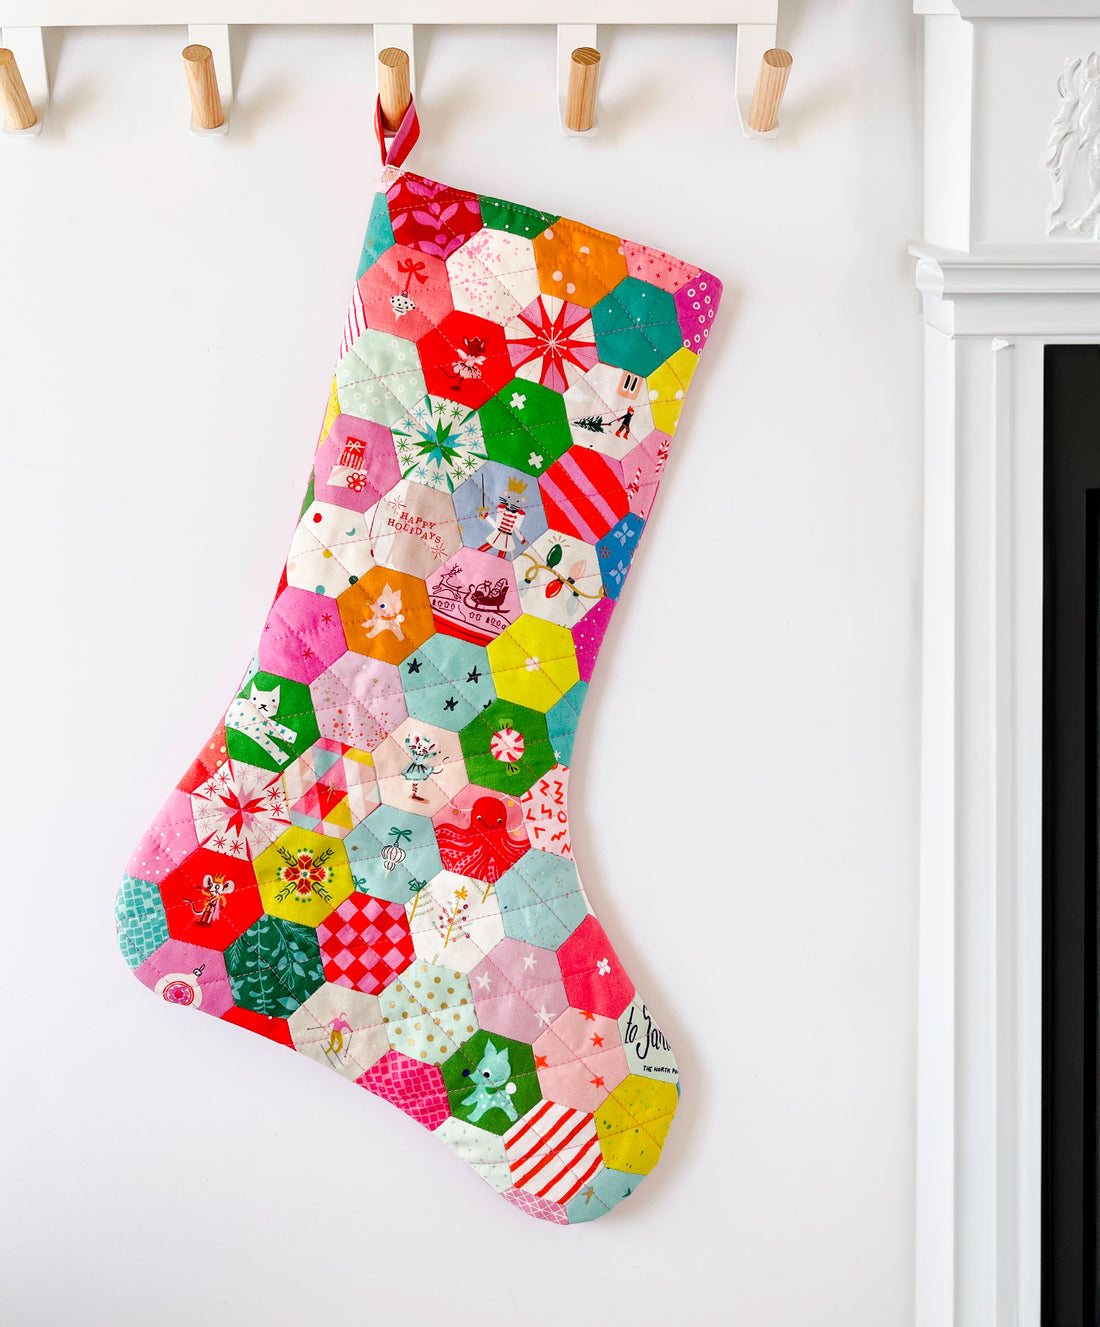
Tada!! You did it! Your stocking is complete!

My son saw my stocking and decided he wants a new stocking also so I guess I'm making another :)
Thanks so much for sewing along with me, I hope you enjoy your EPP hexagon stocking for years to come!
I want to see your makes- please tag me on Instagram @cambervillethreads and use the hashtag #hexiestockingsal so I can see your beautiful results!